


Mastering Surface Modeling in xShape and xDesign

Article by Wayne White updated September 22, 2025
Article
Surface modeling in xShape and xDesign is a powerful skill that can aid in the creation of very specific shapes and final geometry. Creating a jigsaw assembly is a prime example where leveraging surfacing techniques can come in extremely handy.
Surfacing Modeling Capabilities in xShape
The plastic shell was created in xShape, which is a powerful tool to create organic shapes without needing to know surfacing language. xShape allows for a process best described as sculpting digital clay. However, there may be other features we want to create based on the plastic cover.

An example of this could be overmolding on specific areas of the jigsaw assembly. The complex geometry is already there in the model, but we want to use the existing conditions to create additional geometry.
Surface Modeling Capabilities in xDesign
There’s a myriad of surfacing capabilities in xDesign. On the Surfaces tab, we see the typical extrude, revolve, loft, sweep, and fill for generation. We see knit, trim, offset, extend, and ruled surfaces for the creation of the watertight solid. Remember, the technique of surfacing generally isn’t the destination, but rather an intermediate step that helps create the watertight solid that can be produced.
Using Delete Face to Prepare for Surfacing
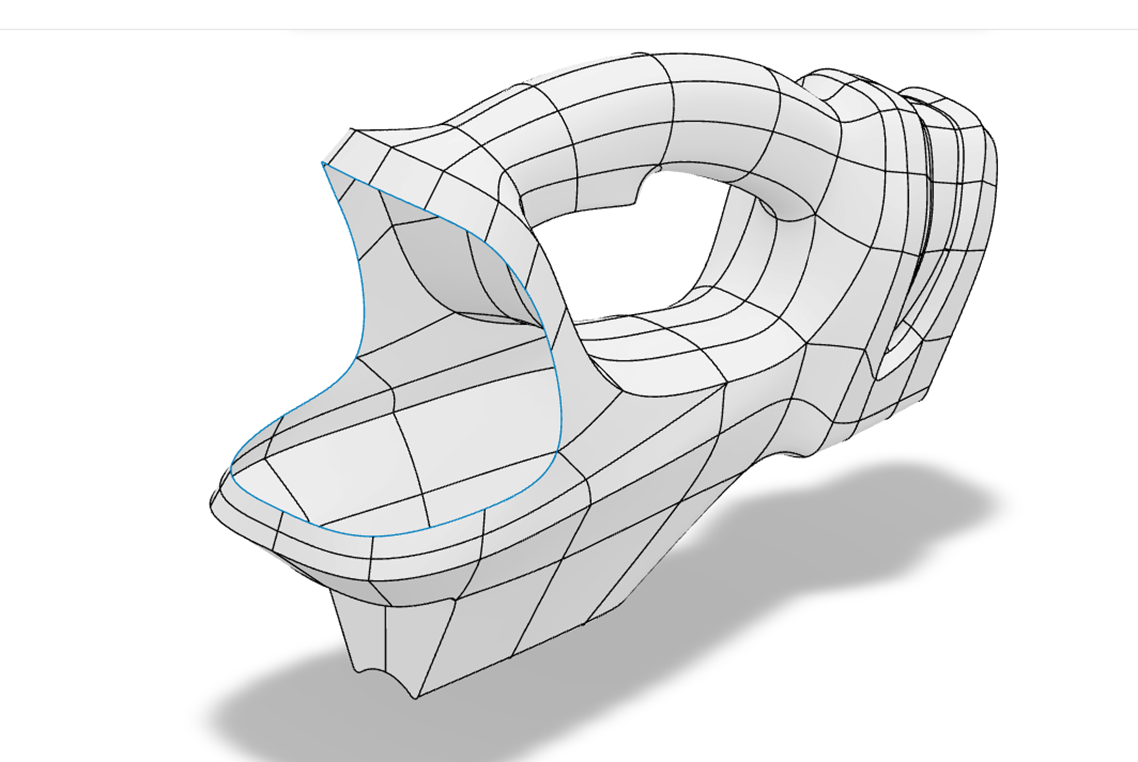
The Delete Face command allows for traditional design techniques to “open up” a solid body. By using it, you can remove existing faces and set up creating entirely new surfaces on the exterior of the model. In this case, we could use Delete Face and select tangent faces to speed up the selection to remove the front shroud of the assembly.

The blue coloring indicates that this is no longer a solid but indicates an open region. At this point, you could use normal surface modeling techniques to create new geometry at the front of the model quickly. However, any new surfaces created will need to be knit with the existing surfaces to create a watertight solid model.
Additional Techniques to Create Surfaces
In this case, I’m not going to recreate a new surface with fill, sweep, or loft, but rather offset the region a distance of zero to copy the surfaces in place. Below, we hide the original xShape-produced geometry and show the offset surface.

We can make quick work of creating a solid here by running the Thicken command. The Thicken command will take the surface body and thicken it by a user-specific value. Had we not desired a uniform thickness, then we would need to do more work with the potential of lofts and fills.
No matter the CAD tool, surfacing has always been a powerful skill to have. Whether you need to create final geometry for molding processes or you work with other companies using separate CAD, surfacing helps the design process in defining the root mathematical model to create very specific geometry.
Looking to improve your surface modeling skills? Register for an upcoming training class here.
Related Links
SOLIDWORKS xDesign Resources
Learn more about the SOLIDWORKS xDesign with our resources:
Posts related to 'Mastering Surface Modeling in xShape and xDesign'
